
The easiest way to set up a dual boot on a computer with Windows already installed is by Wubi. Setting up a dual boot on computer with Ubuntu installed is a little more complicated than that.
Here is what you will need:
1. Windows ISO OR Windows Installation CD/USB
2. Ubuntu ISO OR Ubuntu Live CD/USB
3. USB Drive
4. UNetbootin
Note: If you wish to install Windows 7, you can also use A Bootable USB to burn the ISO. It needs a Windows host, though.
Step1. Download the Ubuntu ISO and UNetbootin. The installation instructions for UNetbootin for both Windows and Linux are here. You may skip the manual download of the Ubuntu ISO as UNetbootin can also do the same for you. It is simply a matter of choice.
Step2. Run UNetbootin. Select Diskimage>ISO and enter the path for the Ubuntu ISO file. Alternatively, you may download the distribution of your choice directly from the internet. Then Select USB Drive as the Type and sdbX (where X is usually 1) as the Drive. Click OK.
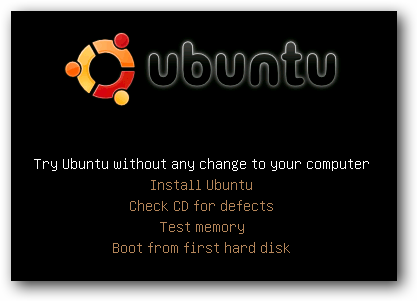
Step3. Now, you need to have your partitions in place. With Ubuntu as the sole OS, there would typically be two partitions - Ubuntu Installation Partition and Swap. You would need to resize the Ubuntu partition using GParted to make space for a Windows installation - you can only do this using a Ubuntu Live CD/USB. Select the Try Ubuntu option and go to System>Administration>GParted to make the partitions.
The Ubuntu partitions are typically in ext3 or ext4. Windows and other shared partitions should be NTFS. For my computer, I have set up two 30 GB partitions for Ubuntu and Windows installations, and another 80 GB for the common data - Dropbox, Music, Documents, etc. The other 5 GB is in Swap.
Step4. Repeat the steps 1 and 2, with the Windows ISO instead of Ubuntu ISO. The size of the USB drive used in this step should be at least 4 GB.
Important: If you are just overwriting the same USB drive used in Step2, remember to copy the Ubuntu ISO in a common drive before proceeding. Windows CANNOT access the Ubuntu filesystem and you may have to re-download the Ubuntu ISO if you do not have a backup.
Step5. Now, restart your computer and ensure that the USB drive is given the highest preference in your boot sequence in the BIOS settings. Boot your computer using the USB drive and install Windows.
Step6. After Windows has been installed, you will realize that you are unable to access the Ubuntu partition. This is because Windows overwrites the MBR. At this point of time,you would require UNetbootin and the Ubuntu ISO again. Repeat steps 1 and 2.
Step7. To restore the MBR, we will make use of a free software called Boot-Repair. Boot your computer using the Ubuntu Live USB. Select the Try Ubuntu option and run the terminal. Type in the following commands in the terminal:
sudo add-apt-repository ppa:yannubuntu/boot-repair
sudo apt-get update && sudo apt-get install -y boot-repair
Step8. Finally, fire up Boot-Repair and select First Repair and click Apply.

Bingo! The dual boot has been set up successfully on your computer. Now, you can merge your Dropbox, Firefox, Pidgin and Thunderbird profiles between Ubuntu and Windows so that your settings for chat and internet are always synced. The simplest way to do it is to set it up in Windows or relocating the profile from Ubuntu to Windows folder, as Windows cannot access the Ubuntu filesystem.
For Firefox, you can always use Firefox Sync or XMarks to sync all settings between different computers and also the different OS on the same computer. But, sharing a single profile is more convenient and logical for the same computer.
